

Banana Split Sundae Ice Cream Cake
Banana Split Sundae Ice Cream Cake: A dessert dream come true! 🤩🍰🍌
1. A Quick Note:
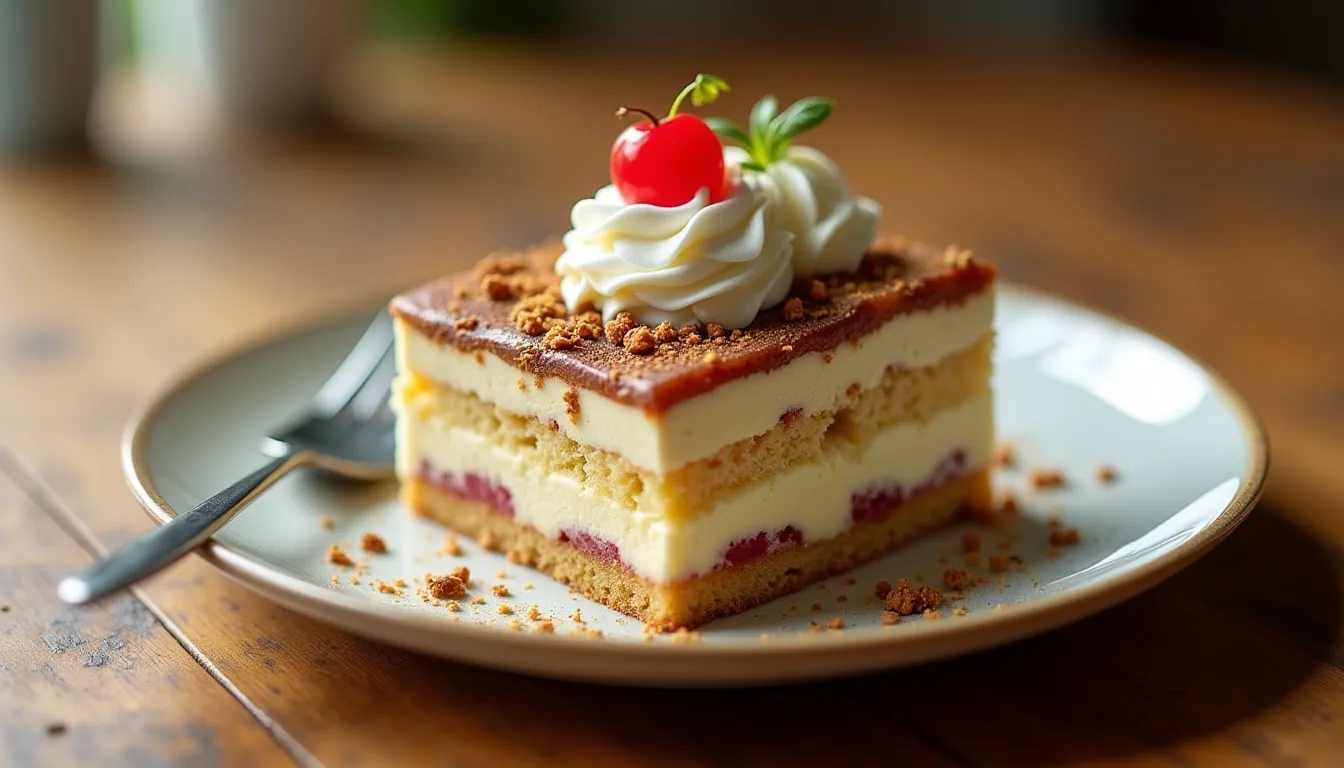
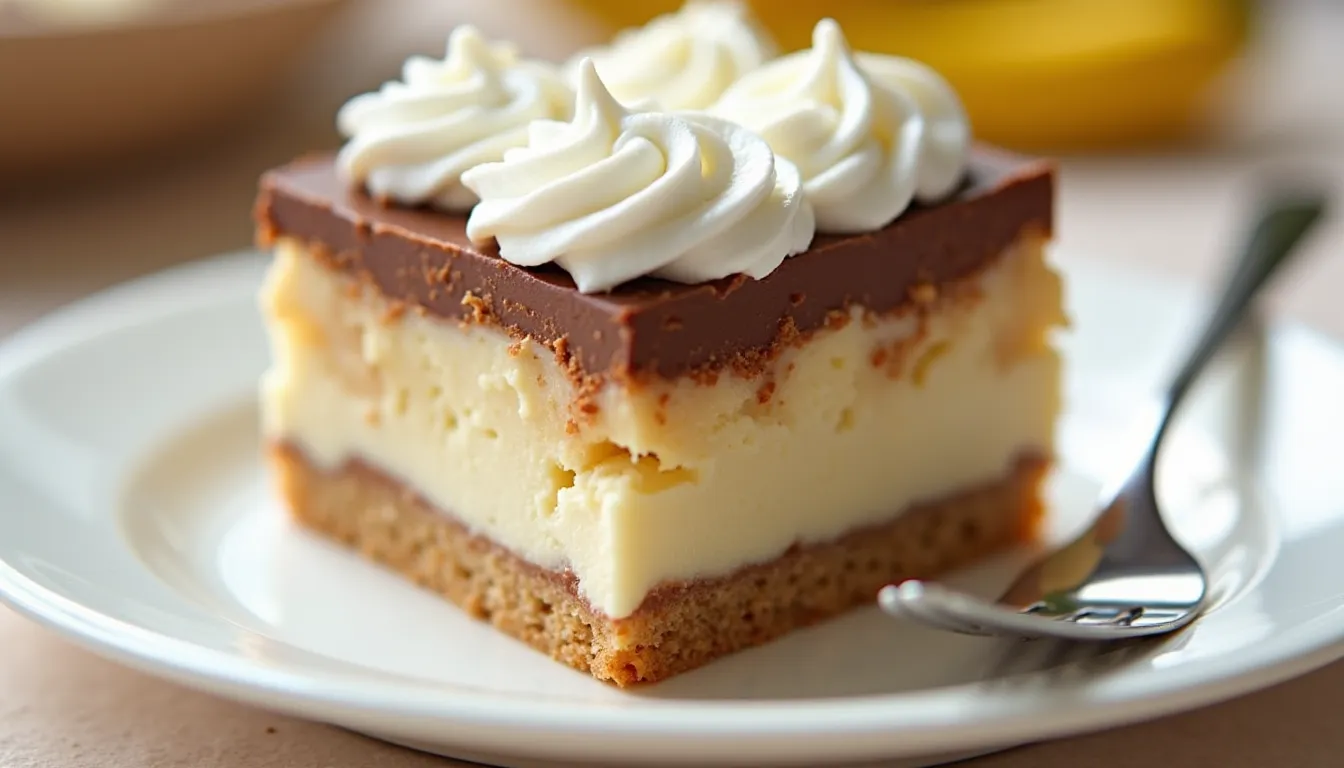
Imagine the joy of a banana split, but in cake form! This Banana Split Sundae Ice Cream Cake combines layers of creamy ice cream, sweet bananas, and all the classic sundae toppings into one show-stopping dessert. It's a guaranteed crowd-pleaser!
2. Ingredients:
- 2 cups graham cracker crumbs
- 1/2 cup unsalted butter, melted plus 1/4 cup
- 5 -s medium bananas, sliced into 1/2 inch rounds
- 1 1/2 quarts strawberry ice cream, softened
- 1 cup chopped walnuts
- 1 cup chocolate chips
- 1 cup confectioner's sugar
- 1 cup evaporated milk
- 1 teaspoon vanilla extract
- 8 ounce container whipped topping
3. Step by Step:
Begin by layering sliced bananas at the bottom of a springform pan. Soften the ice cream slightly and spread each flavor in layers over the bananas, freezing between each layer. Top with whipped cream, chocolate sauce, sprinkles, and cherries before serving.
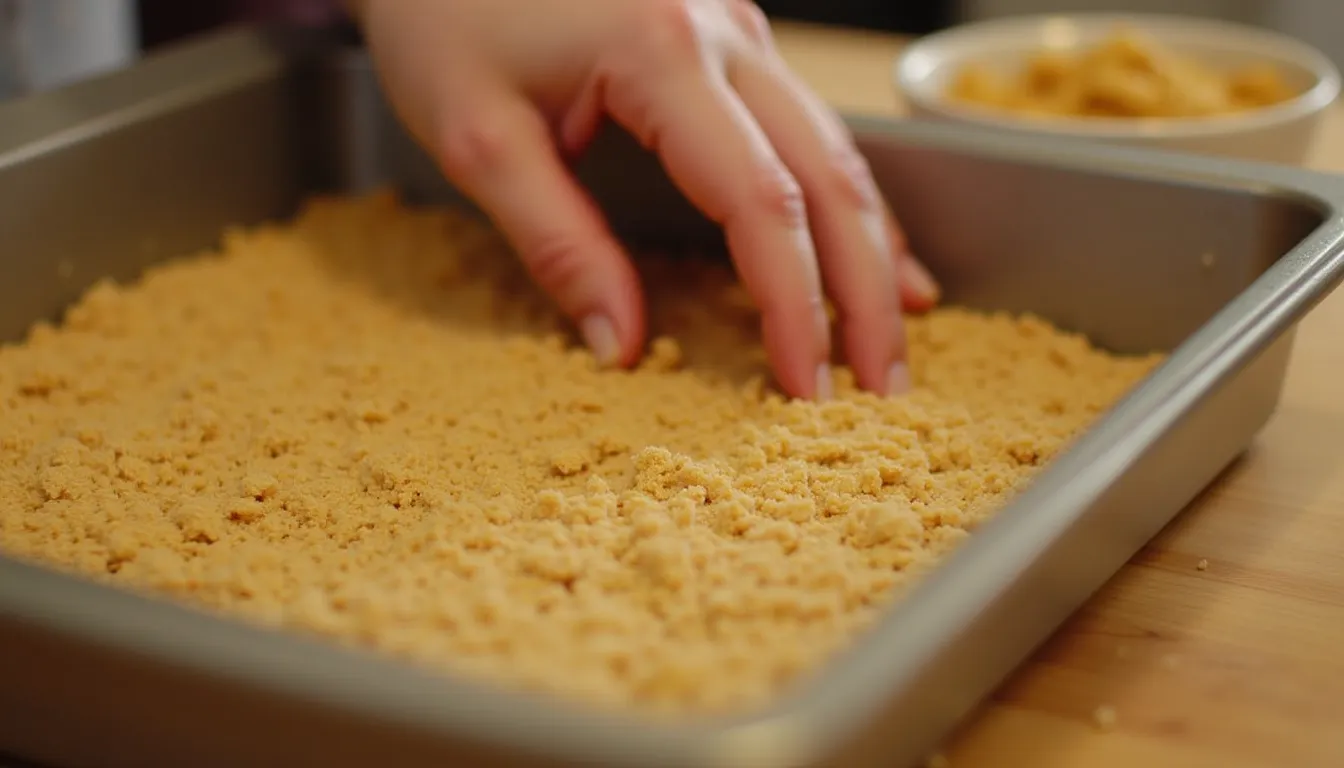
Step 1: Prepare Crumb Crust
In a small bowl, thoroughly combine the graham cracker crumbs and the melted butter until evenly moistened. Reserve about 1/4 cup of this mixture for later use. Press the remaining crumb mixture firmly and evenly into the bottom of a 9x13 inch baking pan to form the crust.
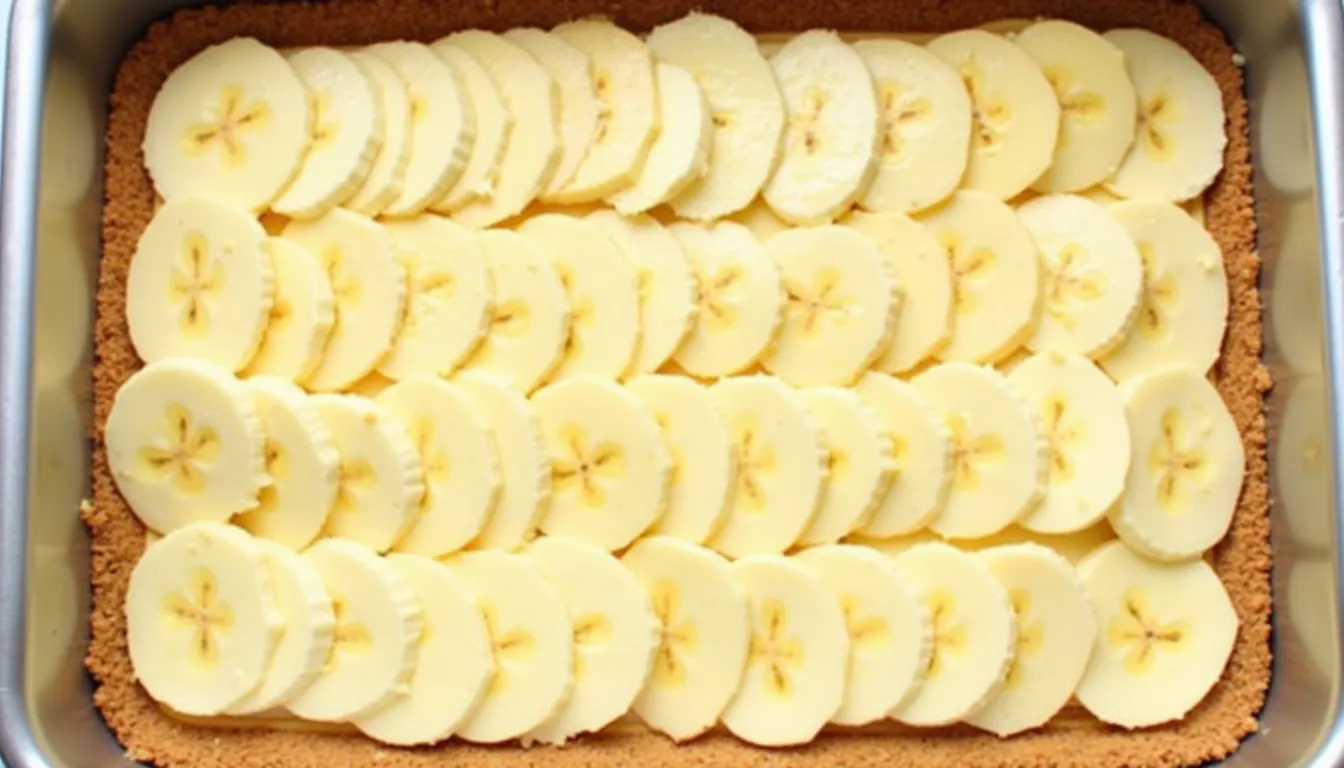
Step 2: Layer the Bananas
Peel the bananas and arrange them in a single, even layer directly over the prepared graham cracker crust. Ensure the entire crust is covered with banana slices for consistent flavor in every bite.
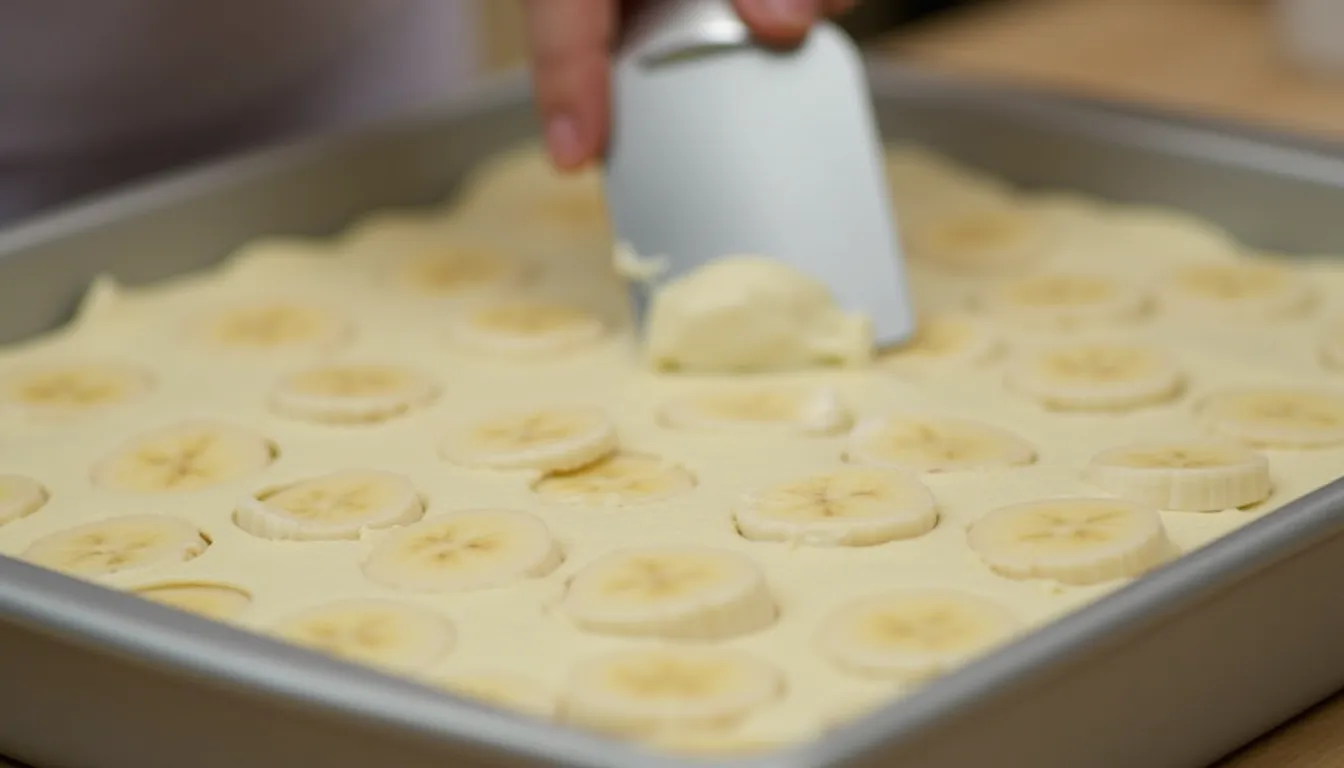
Step 3: Add Ice Cream Layer
Take softened ice cream and gently spread it over the banana layer. Use a spatula or spoon to smooth the surface, creating an even layer that completely covers the bananas.
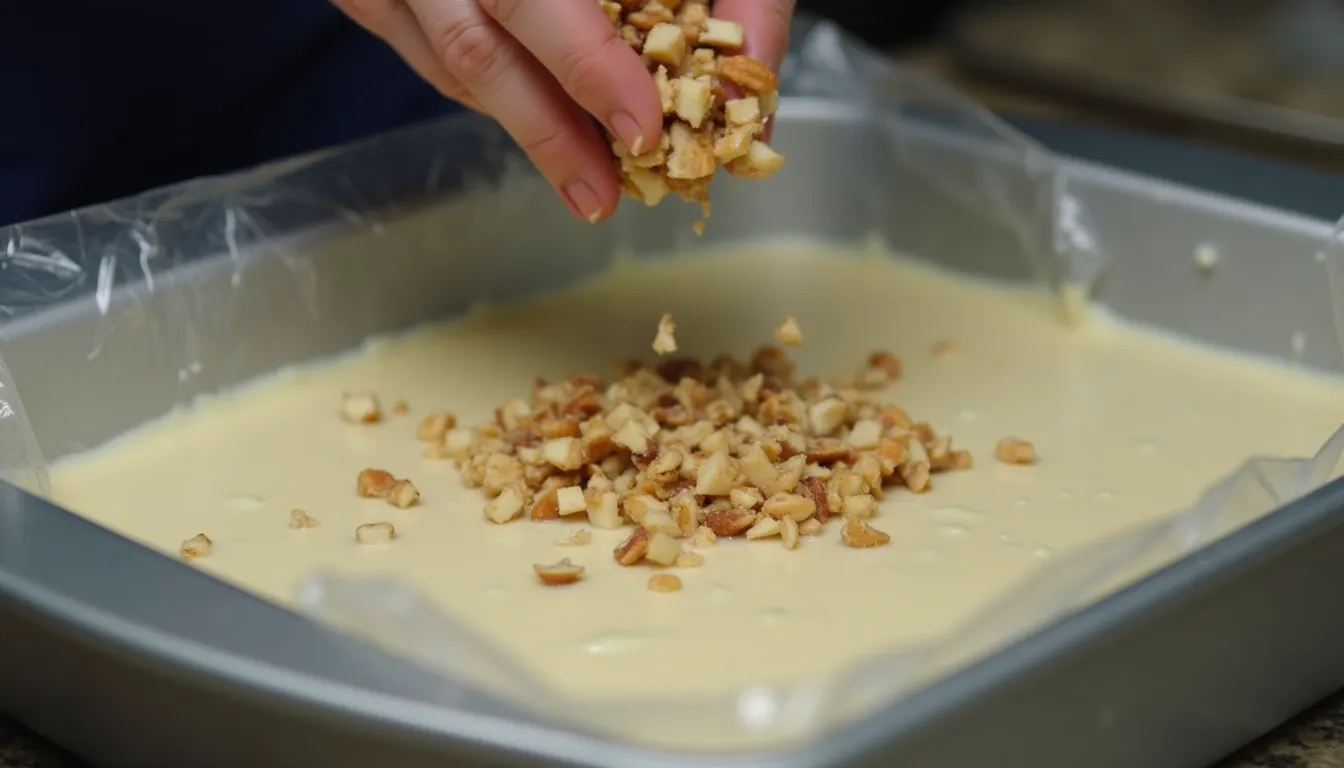
Step 4: Sprinkle Nuts and Freeze
Evenly sprinkle the chopped nuts over the ice cream layer. Cover the pan tightly with plastic wrap to prevent freezer burn and freeze until the ice cream is firm, about 2 hours.
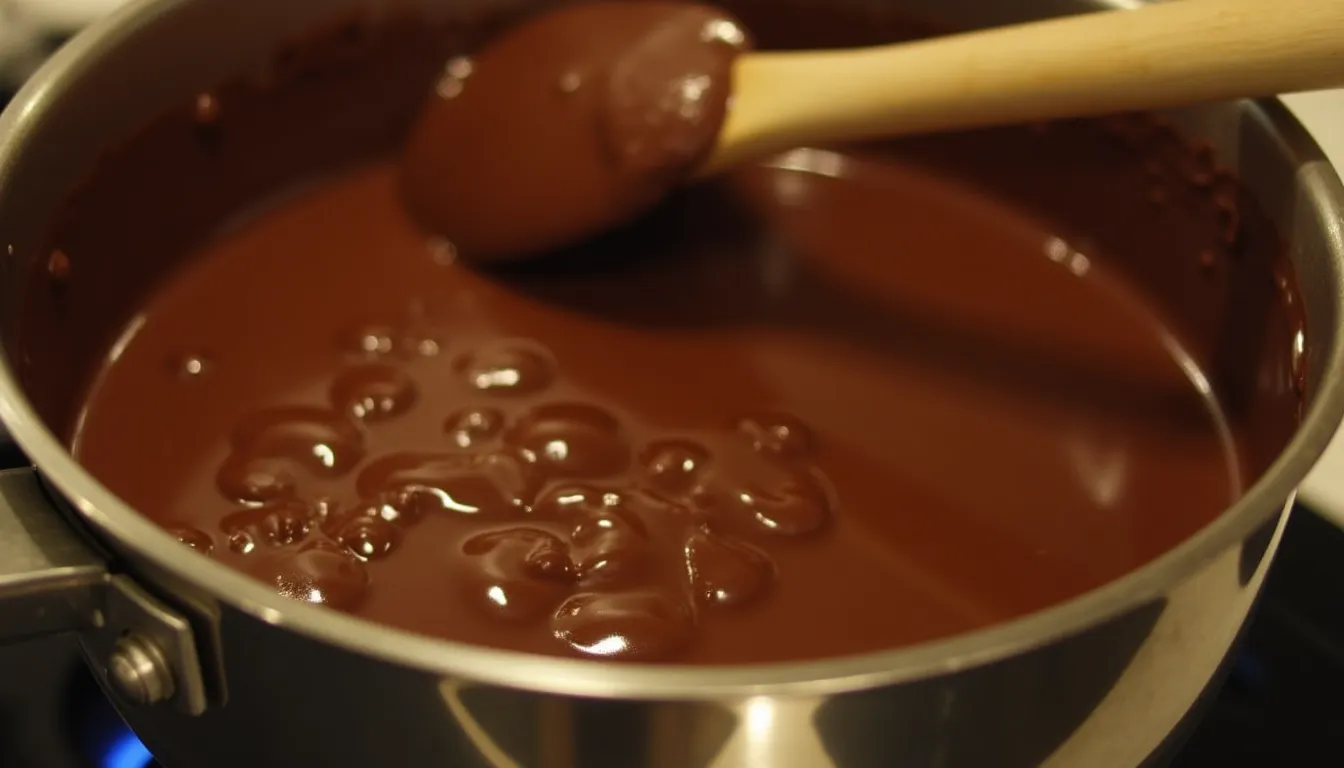
Step 5: Melt Chocolate and Butter
In a medium saucepan, combine the chocolate chips and the remaining 1/4 cup of butter. Melt the mixture over low heat, stirring constantly, until it is completely smooth and glossy.
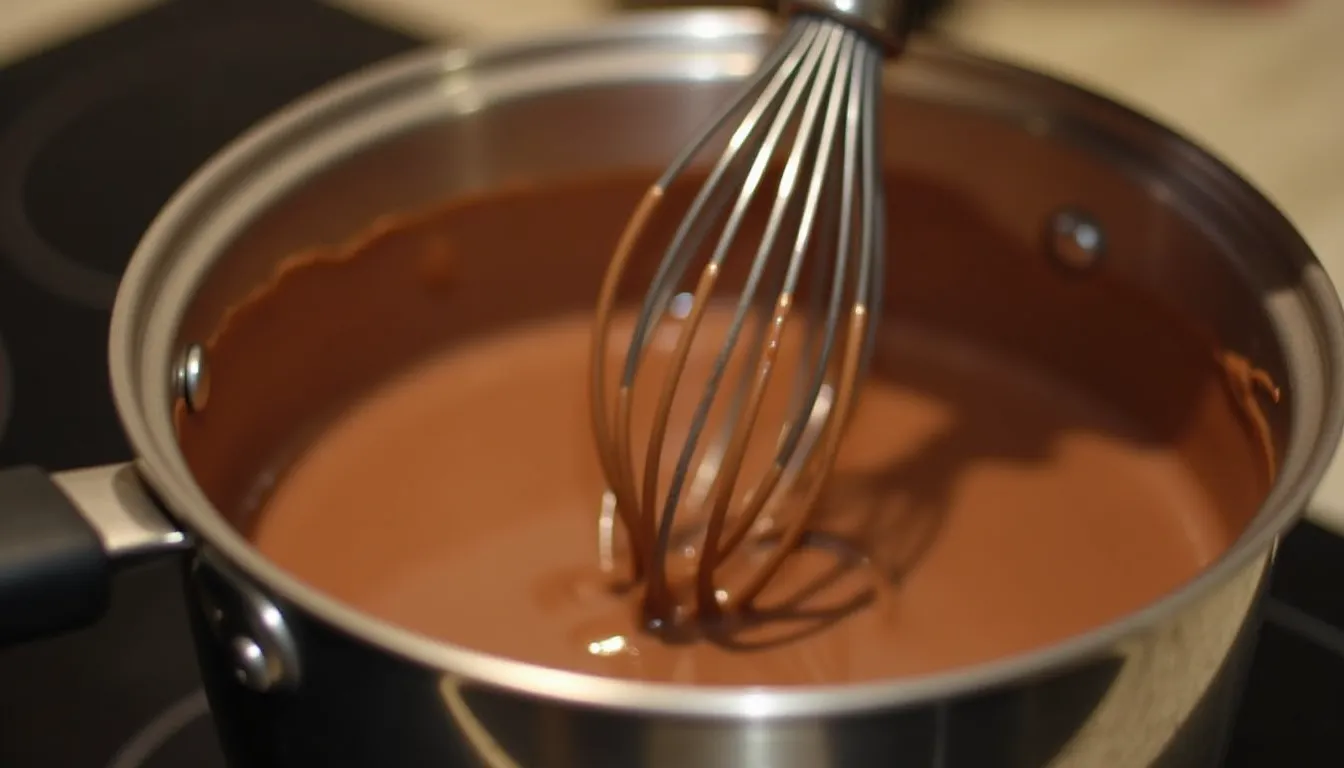
Step 6: Add Sugar and Milk
Add the confectioner's sugar and evaporated milk to the melted chocolate mixture. Cook over medium heat, stirring constantly, until the mixture slightly thickens and becomes smooth, about 8 minutes.
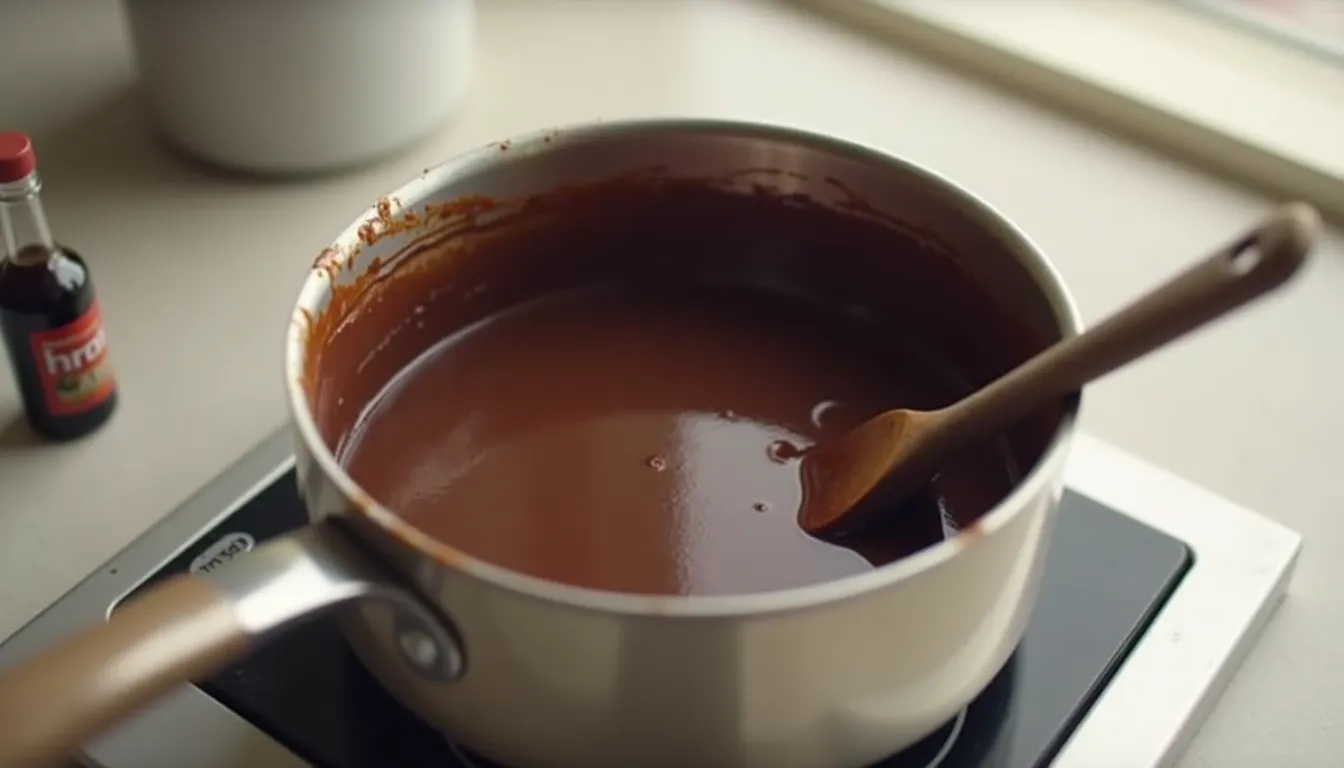
Step 7: Stir in Vanilla and Cool
Remove the saucepan from the heat and stir in the vanilla extract. Allow the chocolate mixture to cool for about 30 minutes, stirring occasionally to prevent a skin from forming on top.
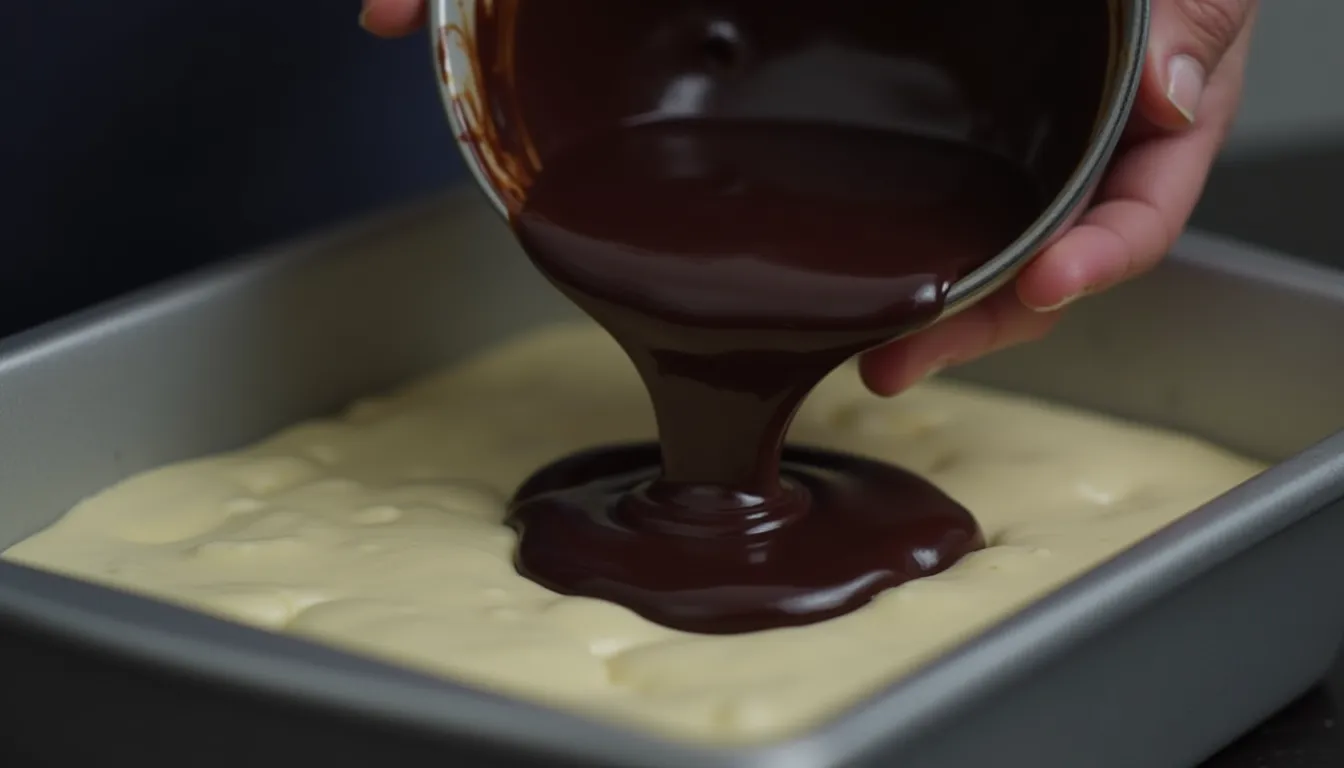
Step 8: Pour Chocolate Layer and Freeze
Pour the cooled chocolate mixture evenly over the ice cream layer in the baking pan. Return the pan to the freezer and freeze until the chocolate layer is firm, about 1 hour.
Step 9: Add Whipped Topping and Crumbs
Spread the whipped topping evenly over the frozen chocolate layer. Sprinkle the reserved graham cracker crumbs over the whipped topping. Freeze for at least 4 hours or, ideally, overnight to ensure everything is completely frozen.
Step 10: Thaw and Serve
Remove the dessert from the freezer about 20 minutes before serving. This allows it to soften slightly, making it easier to cut and serve. Enjoy!
4. Serving Suggestions
Slice the cake into wedges and serve immediately. This dessert is best enjoyed cold, so have your plates ready and prepare for smiles all around! It's perfect for birthdays, celebrations, or any day you want to make special.
5. Nutrition
Serving size: 18 servings, Calories: 448kcal, Protein: 6g, Fat: 23g, Carbohydrates: 59g, Fiber: 2g, Sugar: 28g, Cholesterol: 41mg, Sodium: 134mg
6. To Wrap Up:
The Banana Split Sundae Ice Cream Cake is a fun and delightful twist on a classic treat. It's easy to customize with your favorite flavors and toppings, making it a perfect dessert for any occasion. Give it a try and share the joy!


0 Comments
We’d love to hear your thoughts! Please keep comments kind and on-topic 💬